How to Prepare Your Photos for Retouching (Checklist) — learn how professionals create flawless results with expert photo retouching.
Grow Your Business with Proven Digital Strategies
Get expert help in SEO, paid ads, and automation. Let’s take your growth to the next level — tailored to the U.S. market.
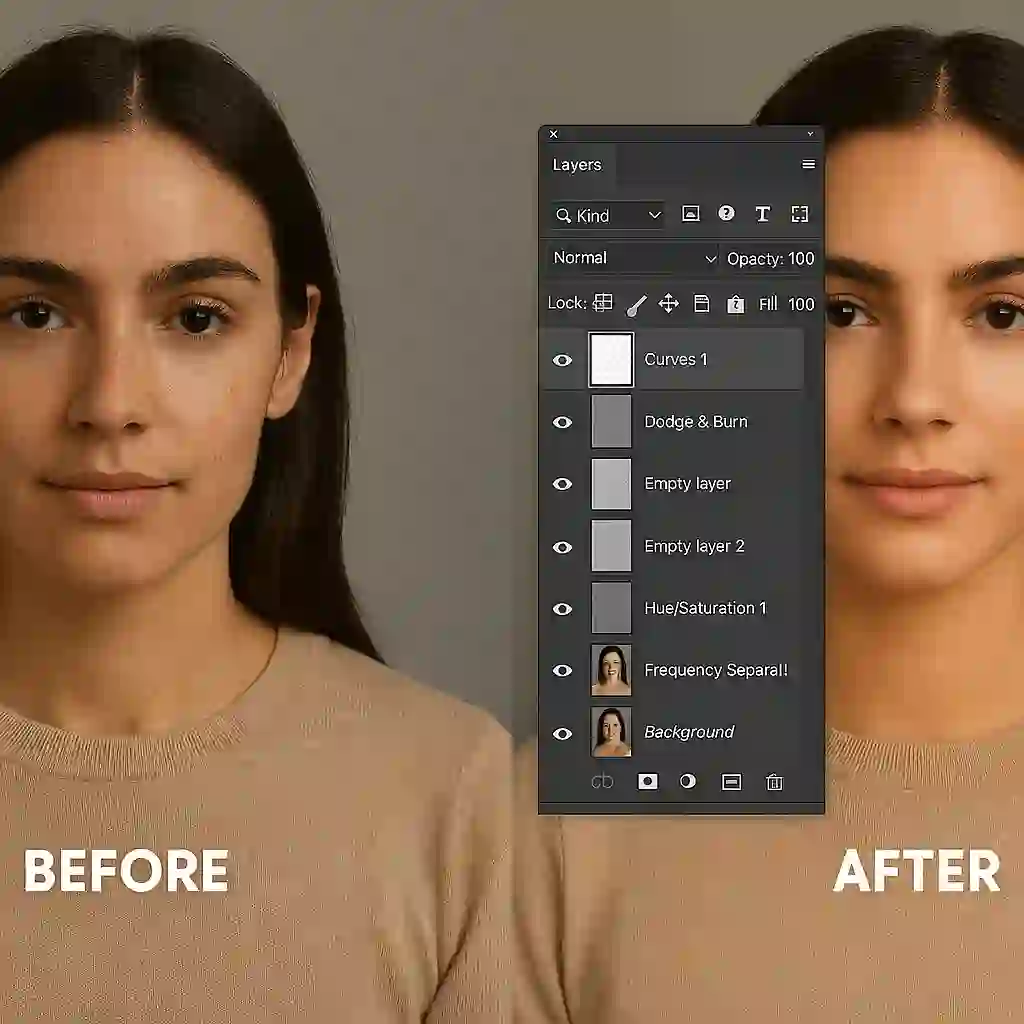
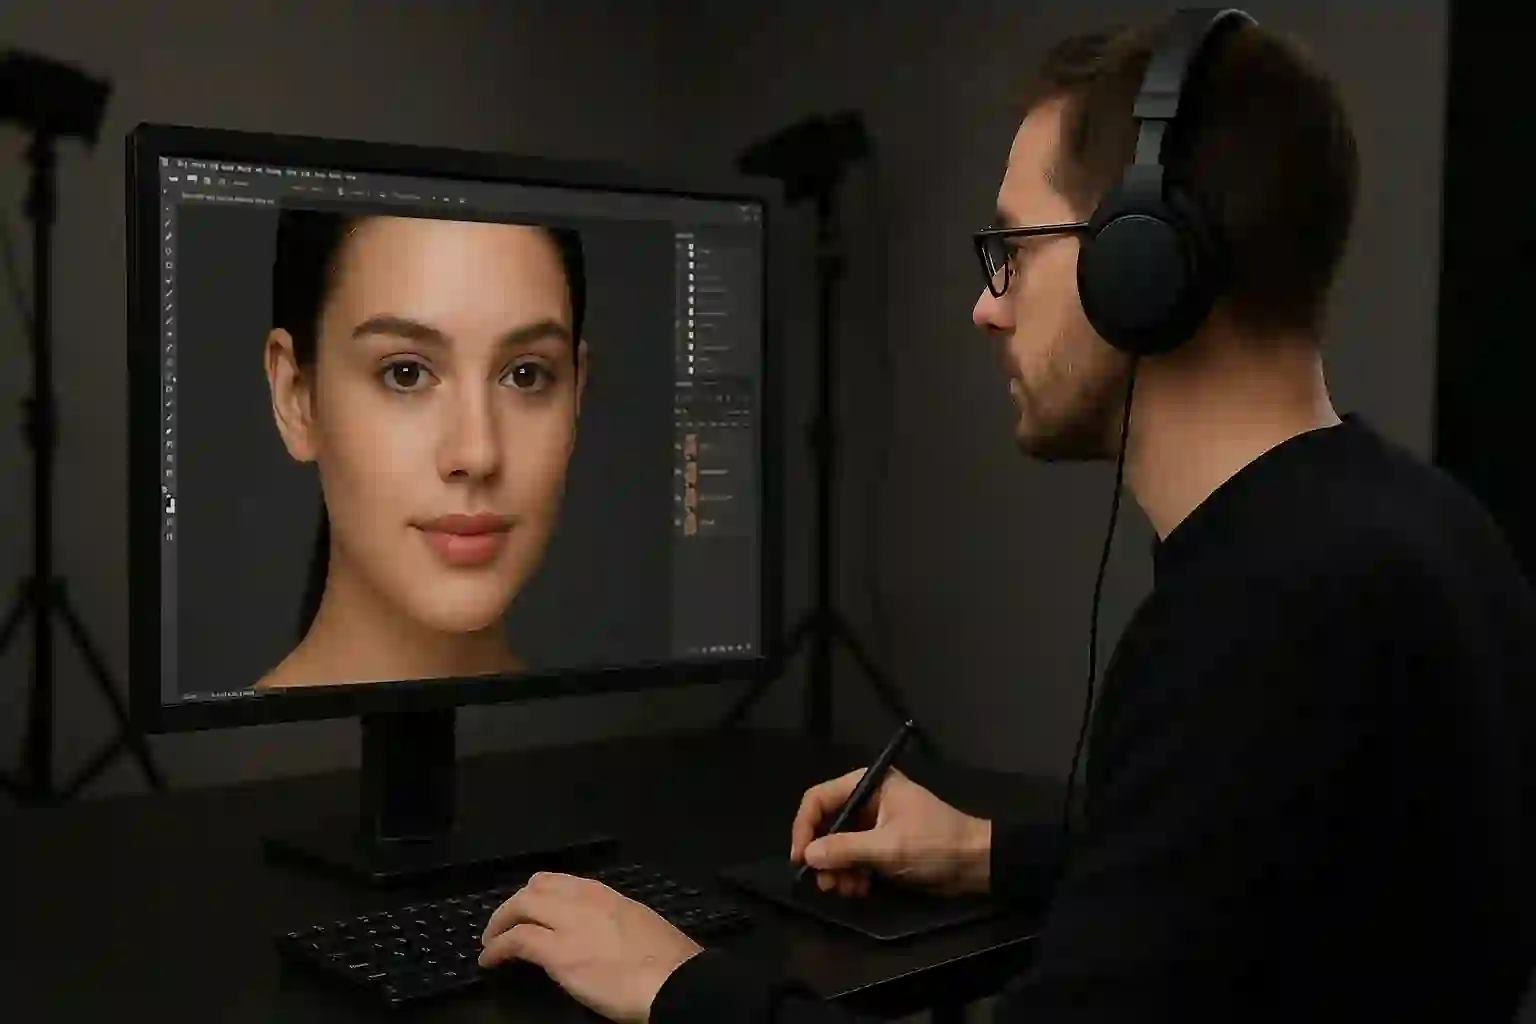
Want flawless results from your retouching team? It all starts with what you send them. Before expert editing can elevate your images, you need to prepare your files properly. In this guide, we’ll walk you through the essential checklist to prepare your photos for professional retouching — so your visuals come back sharper, cleaner, and exactly as you envisioned.
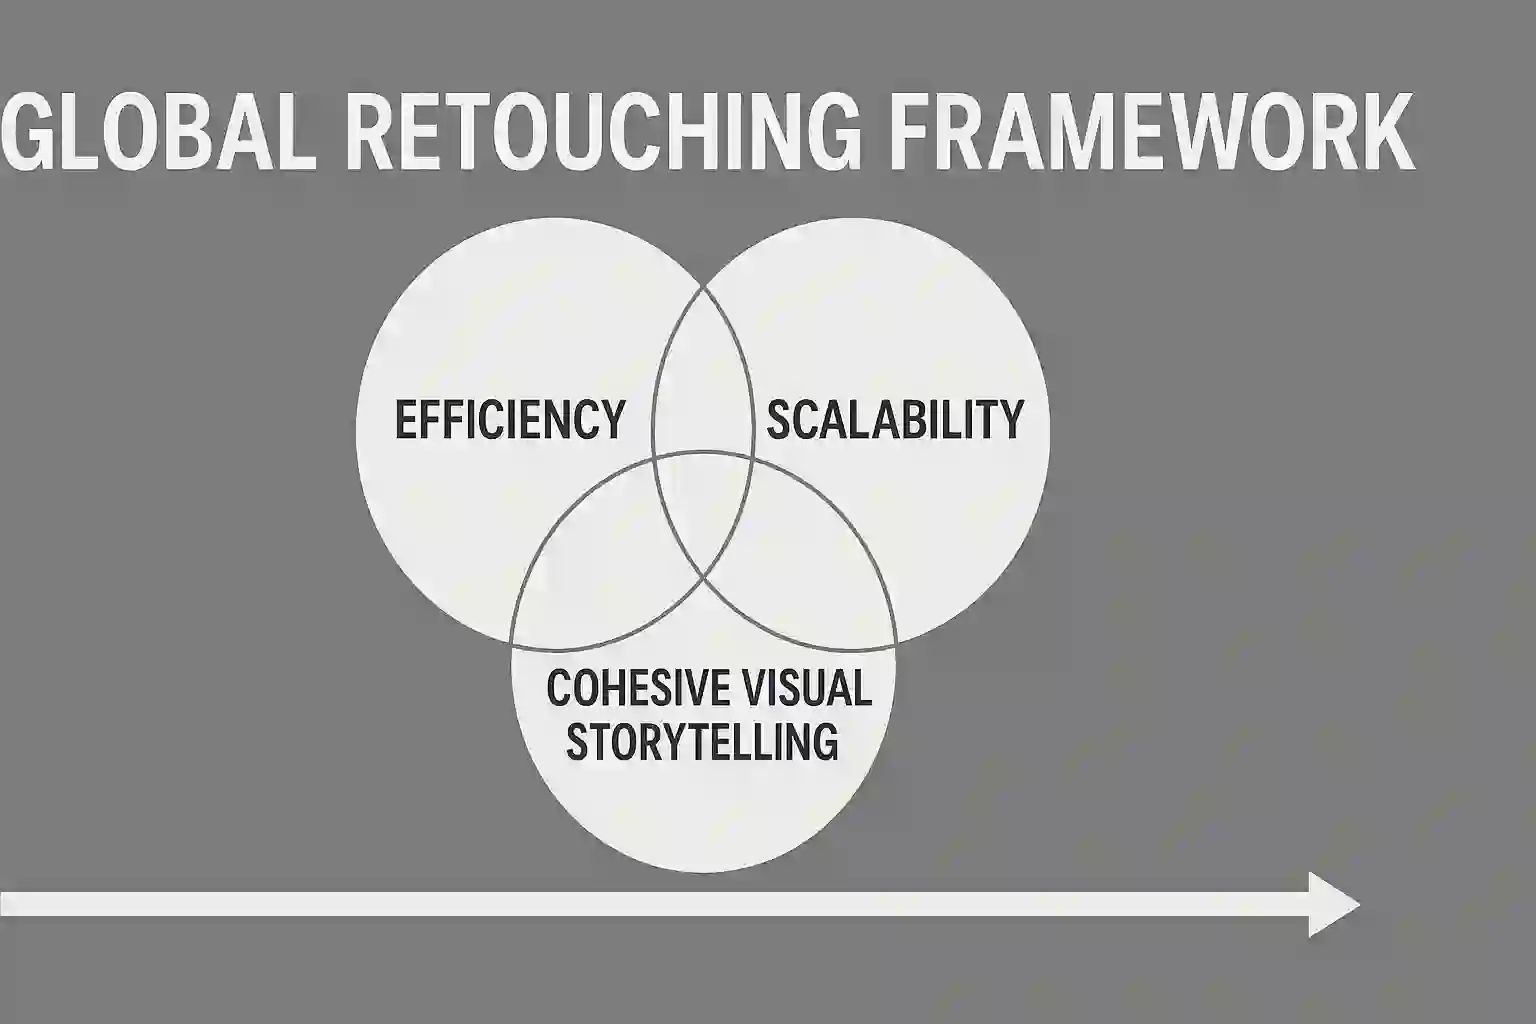
Why Proper Preparation Matters
Even the best retouching can’t fix low-res, poorly lit, or incorrectly formatted files. By submitting clean, intentional source images, you empower your retouching team to focus on what really matters: enhancing mood, preserving texture, and creating that high-end polish.
Here’s why prep work pays off:
- Faster turnaround time with fewer revision rounds
- More accurate edits that reflect your original vision
- Lower costs due to reduced back-and-forth
- Better results thanks to optimized source material
The Photographer’s Pre-Retouch Checklist
Before you upload or send your images to a professional team like Retouch Club, run through this checklist to make sure your files are ready:
- Use the Highest Resolution Possible
Submit RAW files (preferred) or high-res TIFFs. Avoid compressed JPEGs when possible. - Double-Check Focus and Exposure
Blurry or overexposed shots limit what we can do. Retouching can’t restore missed technical basics. - Remove Unused Shots
Only send your selects — avoid overwhelming your team with unchosen takes. - Label Files Clearly
Use naming conventions like “Model_Look1_Final_RAW” or “Product_ShotA_BW_Pref” to avoid confusion. - Include Visual References
Attach moodboards, color grading samples, or past campaign examples if you want a specific style. - Specify Retouching Needs
Do you want skin fully cleaned or just lightly polished? Should wrinkles on clothes stay for realism? The more direction, the better the result. - Send Supporting Assets
Logos, fonts, product mockups, overlays — if it’s part of the final image, include it.
Bonus: What NOT to Do
- ❌ Don’t send screenshots or compressed preview files
- ❌ Don’t leave edits open to interpretation without notes
- ❌ Don’t apply Instagram filters or edits before submission
- ❌ Don’t crop too tight — leave space for final framing
Our Process: Built Around Your Vision
At Retouch Club, we treat every file like it’s going to print — because often, it is. Our workflow is structured to help you get the best results, fastest, with full creative alignment. When your input is clear, our output is extraordinary.
Need a Template?
Ask us for a file delivery checklist or sample brief. We’re happy to help you build a submission process that saves time and maximizes output — especially if you're managing teams or producing at scale.
Get Retouching-Ready
Want results that stand out from the scroll? It starts with preparation. Explore our retouching services and discover how we turn clean inputs into visual excellence.
More Insights on Visual Workflow
- Learn more about our retouching process and services
- Explore visual trends that affect how audiences perceive your content
- Read how preparation affects ROI in marketing visuals
Grow Your Business with Proven Digital Strategies
Get expert help in SEO, paid ads, and automation. Let’s take your growth to the next level — tailored to the U.S. market.